



4-Ingredient Cheesy Breadsticks

September 2, 2026

20 minutes
super easy
about 8 breadsticks
4-Ingredient Cheesy Breadsticks 🧀🥖
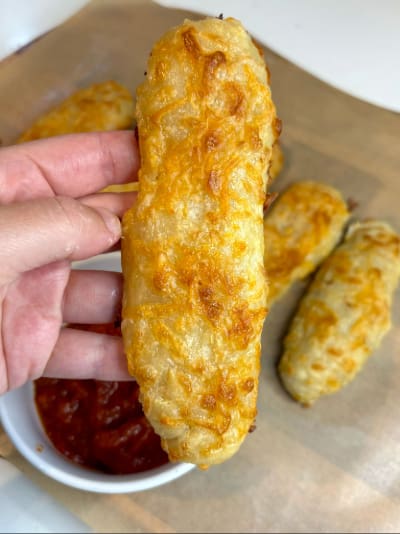
These 4-ingredient cheesy breadsticks are one of those recipes your kids will ask you to make again and again! They are soft, cheesy, delicious, and best of all, so easy to make. There’s no yeast, no waiting for dough to rise, no downtime, and absolutely no kneading required. You can have homemade breadsticks ready in under 20 minutes!
All you need is all-purpose flour, full-fat plain yogurt, shredded cheese, and an egg for brushing on top. That’s it! The yogurt and cheese make these breadsticks soft and tender while also adding a boost of protein, calcium, and other nutrients.
These are perfect when you want something homemade without spending hours in the kitchen. Serve them alongside pasta, soups, or stews, pack them into your child’s lunchbox, or simply serve them with marinara sauce for dipping. My kids love them on their own, but adding a little marinara makes them even better!
⭐ Why You’ll Love These Breadsticks
- 🧀 Only 4 ingredients
- ⏰ Ready in under 20 minutes
- 🙌 No yeast required
- ❌ No rising or downtime
- 👩🍳 No kneading required
- 👧 Kid-friendly and family-approved
- 💪 A good source of protein from yogurt and cheese
- 🦴 Provides calcium from full-fat yogurt and cheese
- 🍅 Perfect for dipping in marinara
- 🍝 Delicious served alongside pasta, soups, and stews
🧀 Ingredients You’ll Need
All-Purpose Flour
All-purpose flour gives these breadsticks their soft, tender structure. There’s no need for specialty flour or complicated techniques.
Full-Fat Plain Yogurt
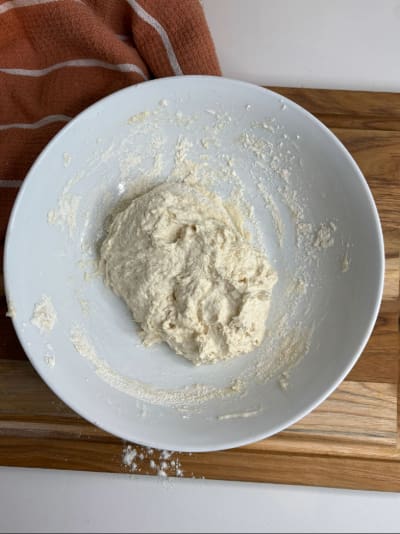
The yogurt is what makes these breadsticks so easy because it helps create a soft dough without yeast. I recommend using full-fat plain yogurt for the best texture and flavor. Yogurt also adds protein, calcium, and probiotics.
Shredded Cheese
Cheese adds plenty of flavor while making these breadsticks wonderfully cheesy. Use your family’s favorite shredded cheese or a combination of cheeses.
Egg
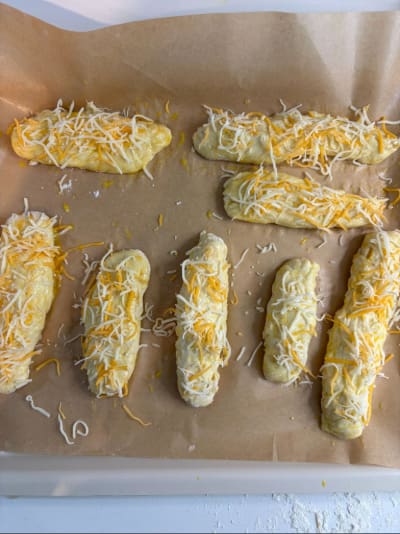
The egg is used to brush over the tops before baking. It helps give the breadsticks that beautiful golden, slightly shiny finish.
🍅 How to Serve
There are so many ways to enjoy these!
As a Snack
Serve them warm or at room temperature with:
- 🍅 Marinara sauce
- 🥣 Hummus
- 🥑 Avocado
- 🧀 Extra cheese
Alongside Dinner
These breadsticks are especially delicious served with:
- 🍝 Pasta
- 🍲 Stews
- 🥣 Soups
- 🍅 Tomato soup
- 🥕 Vegetable soup
They’re perfect for soaking up all those delicious sauces and broths!
In the Lunchbox
Once cooled, pack a couple of breadsticks alongside fruit, veggies, cheese, yogurt, or your child’s favorite protein for an easy lunchbox addition.
💡 Tips for Success
- Add flour when needed. You are going to need a good amount of flour when working with the dough, it is on the stickier side, don’t be afraid to add more flour to the surface and hands.
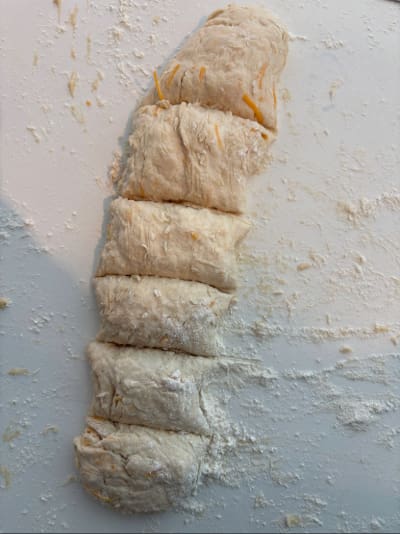
- Keep the breadsticks similar in size so they bake evenly.
- Don’t skip the egg wash if you want that beautiful golden top.
- Watch them closely toward the end of baking. Since they’re small, they can go from golden to overbaked quickly.
- Let them cool slightly before serving, especially to little ones.
🧊 Storage Instructions
Store leftover breadsticks in an airtight container at room temperature for up to 2 days, or refrigerate them for longer storage.
To bring back that fresh-baked texture, warm them briefly in the oven or toaster oven before serving.
You can also freeze the baked breadsticks. Allow them to cool completely, then place them in a freezer-safe container or bag for up to 2 months. Thaw and warm before serving.
🔄 Easy Substitutions
- Cheese: Use cheddar, mozzarella, Monterey Jack, or another shredded cheese your family enjoys.
- Yogurt: Full-fat plain yogurt is my preference for this recipe, you can use greek yogurt of whipped cottage cheese as well.
- Flour: All-purpose flour works best for the texture of these breadsticks. You can use self-rising flour as well, just omit baking powder.
❓ Frequently Asked Questions
Do these breadsticks need yeast?
No! That’s one of the best things about this recipe. There is no yeast and no rising time, so you can go from mixing the dough to eating homemade breadsticks in under 20 minutes.
Do I have to knead the dough?
No. These breadsticks require no kneading, making them especially easy for busy parents.
What can I dip them in?
Marinara sauce is my favorite, but you can also serve them with hummus, yogurt-based dips, or alongside your child’s favorite meal like soups, stews, etc.
Can I make these ahead of time?
Yes! Make a batch ahead of time and store them for easy snacks, lunchboxes, or to serve alongside dinner throughout the week.
What You Need:
If you enjoyed this recipe, here are more easy kid-friendly recipes:
Ingredients
Adjust Servings
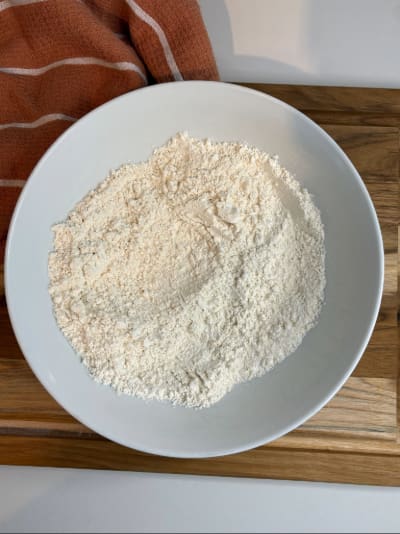
| 1 1/2 cups all-purpose flour | |
| 1.5 tsp baking powder | |
| 1 cup full fat plain yogurt | |
| 3/4 cup shredded cheese of choice | |
| 1 egg (to brush on top) |
Directions
1.
2.
3.
4.
5.
6.
7.
8.
2 Comments
-
-
Eating With Zion
Yayyy! Happy you enjoyed the recipe!
-
Tastes very impressive for how easy this was to make!