


No-Sugar Butter Cookies
December 19, 2024
30 minutes
super easy
about 30 cookies
No-Sugar Butter Cookies: A Fun and Festive Holiday Treat for Kids
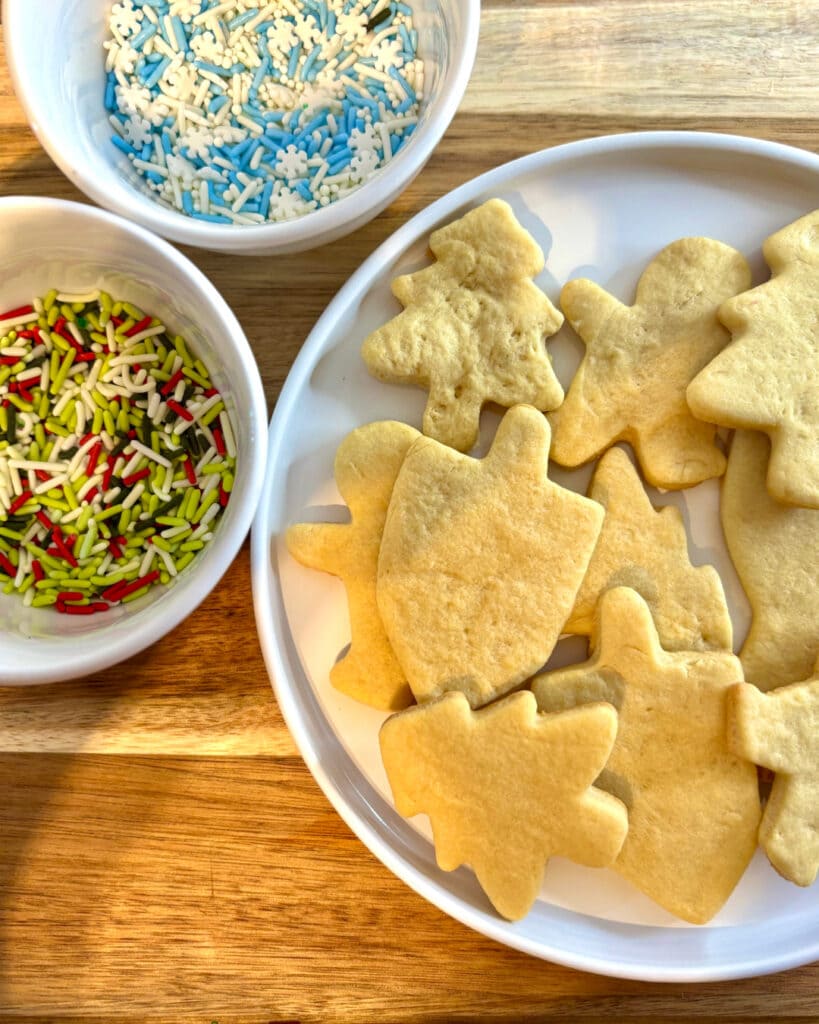
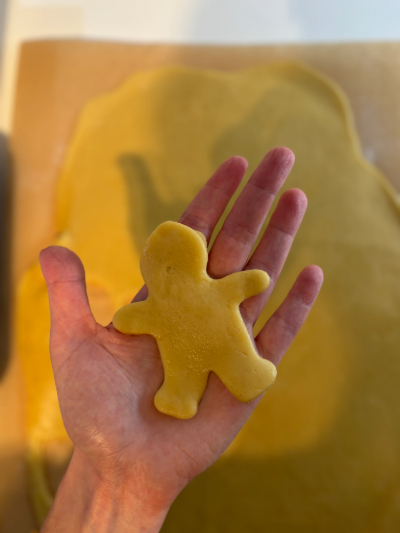
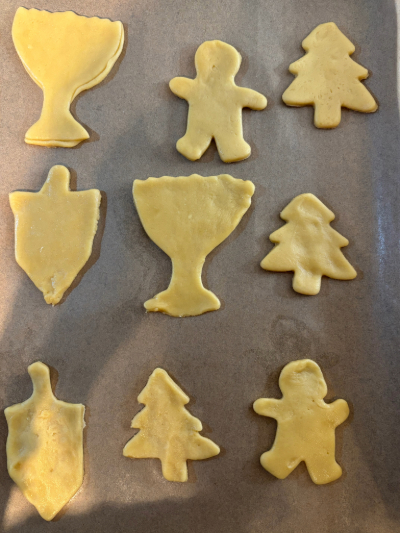
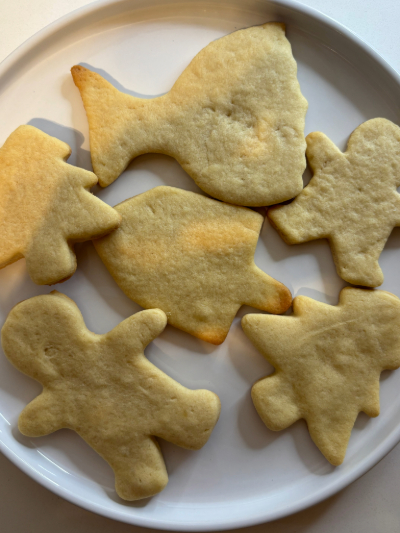
The holidays are the perfect time to bond with your kids over baking, and what better way than with a batch of no-sugar butter cookies? These cookies are a healthier alternative to traditional sugary treats while still being delicious and fun to decorate. With their buttery texture and simple sweetness from natural ingredients, they’re the ideal blank canvas for kids to unleash their creativity with festive decorations. You can cut out any fun shapes you and your kids enjoy, I used some fun Hannukah ones like dreidels and menorahs or cute Christmas ones like snowflakes, gingerbread men and Christmas trees.
Why No-Sugar Butter Cookies?
-These cookies are so simple and easy to make, made with just 5 ingredients that you probably have in your kitchen right now.
-They are made with no refined sugar, making it a healthier, kid-friendly dessert option for kids of all ages.
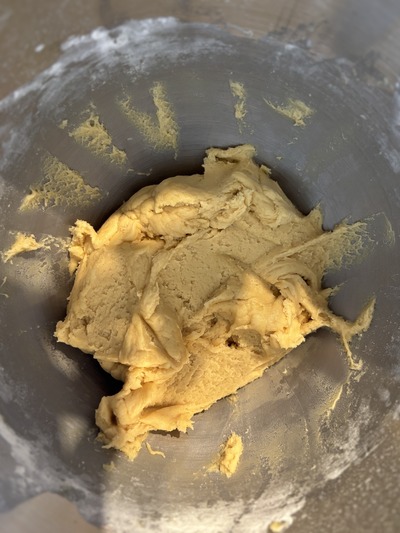
-The recipe uses wholesome ingredients like butter, flour, and eggs, providing a rich and satisfying base. Butter gives the cookies their signature melt-in-your-mouth texture, while eggs add structure and protein.
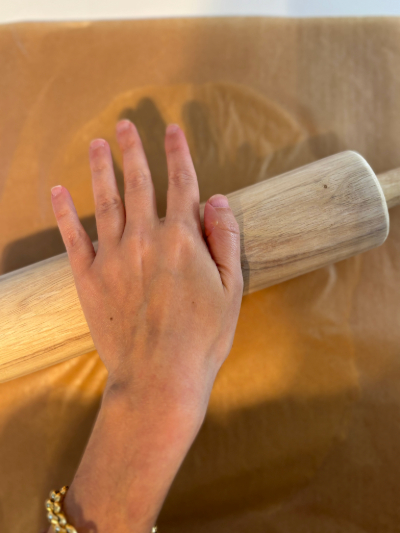
-Kids enjoy rolling out dough, cutting shapes, and decorating cookies because it feels like a craft project. It’s also an excellent way to teach them basic kitchen skills and the value of healthier ingredients. For younger kids, this hands-on activity improves fine motor skills, while older ones can learn about measuring, mixing, and baking.
Decorating Time: Get Creative!
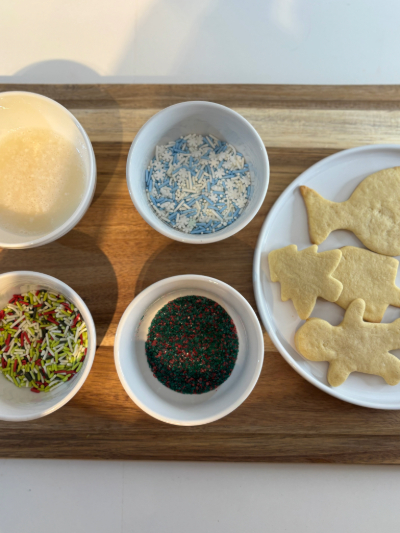
Letting kids decorate their own cookies encourages creativity and makes the experience even more memorable. Plus, they’ll take pride in their edible masterpieces, making holiday gatherings extra special. Set up a cookie decorating station with some of the following ingredients:
Cookie Cutter Shapes: This gives the kids a fun base to start off with, you can use holiday shapes or any type of shapes you and your kids prefer.
Icing: For my 6 year old I made a simple sugar icing with 3 tbsp of powdered sugar and 2 tbsp milk. For my 1 year old I did some plain yogurt with a little maple syrup and let him dip the cookie in it. You can also make a cream cheese icing, by whipping cream cheese, maple syrup and vanilla.
Dye-Free Sprinkles: The kids love to add some sprinkles to the cookie, giving them color and making them pop! I added 2-3 different sprinkle colors to different bowls and had the kids decorate with whichever color they liked.
Drizzle of dark chocolate: You can also add a bowl of melted chocolate for a nice drizzle. This option is only for 2 years old & up.
Why Kids Love It?
Kids enjoy rolling out dough, cutting shapes, and decorating cookies because it feels like a craft project. It’s also an excellent way to teach them basic kitchen skills and the value of healthier ingredients. For younger kids, this hands-on activity improves fine motor skills, while older ones can learn about measuring, mixing, and baking.
A Holiday Tradition Worth Keeping:
No-sugar butter cookies aren’t just a healthier alternative; they’re a way to create lasting memories with your kids. Whether you’re making a batch for a holiday party, gifting them to neighbors, or simply enjoying them with hot cocoa, these cookies bring joy without the sugar crash.
This holiday season, swap out traditional sugary treats for no-sugar butter cookies and enjoy a festive, fun, and wholesome baking tradition with your kids. They’re proof that you can have your (decorated) cookie and eat it too!
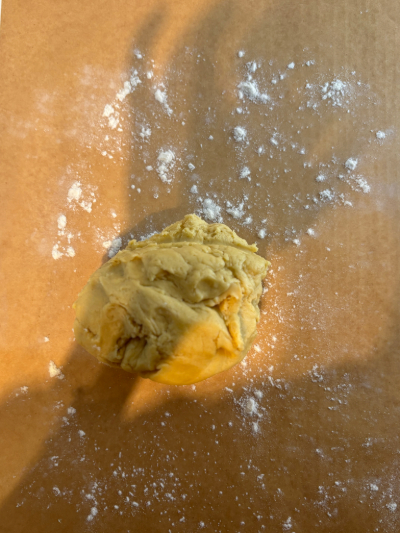
What you need:
Cookie cutters- I used Hannukah and Christmas ones
If you enjoyed this recipe, here are a few more kid-friendly desserts you can check out:
Ingredients
Adjust Servings
| 2 cups white spelt flour or all-purpose | |
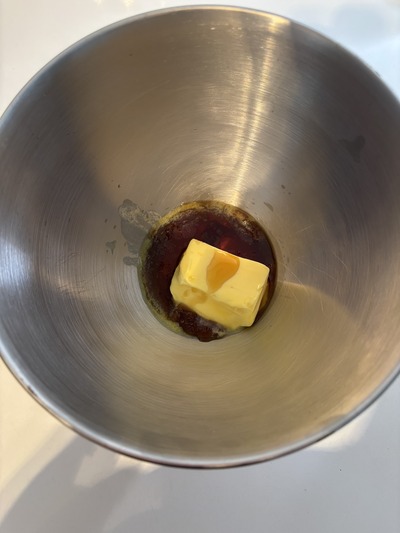
| 1/2 cup (1 stick) softened unsalted butter | |
| 1/4 cup maple syrup | |
| 1 egg | |
| 1 tsp vanilla |
Directions
1.
2.
3.
4.
5.
6.
7.
8.
9.

Notes
18 Comments
-
Kyri
Can you make these gluten free?
-
Eating With Zion
I haven’t tested with gluten-free flour, but it should work! Let me know if you give it a try!
-
-
Susan
Holiday cookies were a big hit! Thank you
-
Eating With Zion
So happy to hear that! Happy holidays!
-
-
Asheera
Perfect cookies and very easy to make
-
Jeanette Kraus
It says to roll the dough to 4 in thickness.. I don’t think that is right. Also, do you know any sugar free toppings?
-
Eating With Zion
Hi Jeanette, I just fixed it. It should be 1/4 in. thick. My go to sugar-free frosting is plain yogurt, mixed with cream cheese and a little maple syrup. It comes out so good!
-
Taylor
Do you have a recipe for the frosting?
-
Eating With Zion
Yes, you can use a quick icing recipe or I have a baby-friendly cream cheese frosting made with no refined sugar. https://eatingwithzion.com/recipe/baby-friendly-cream-cheese-frosting/
-
-
-
-
Brooke
How thick should the dough be? Says 4 in, but that would be waaaay too thick.
-
Eating With Zion
thank you, I just edited it! It should be about 1/4 in. thick
-
-
AP
Is it possible to ask for the amount of butter and flour in grams please?
-
Danielle
Do you happen to have a dairy free icing recipe for these cookies?
-
Eating With Zion
We’ve done powdered sugar with non-dairy milk and it worked great!
-
-
Michelle
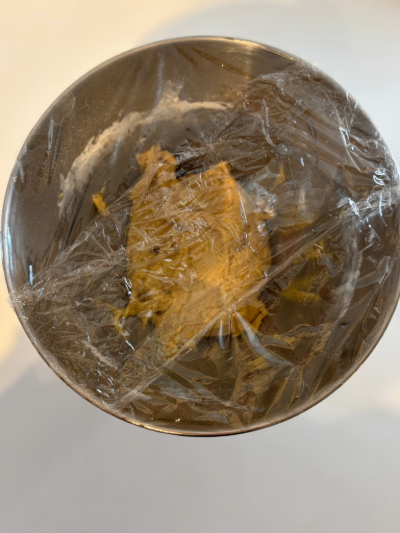
How to store dough? Can it be frozen or left in fridge for a day?
-
Eating With Zion
You can do both, you will need to thaw until easy to work with
-
I just took them out of the oven and they are perfect, I’m surprising the kids with the decorating cookie station today!