


Simple Buttered Pasta With Peas
December 27, 2024
under 20 minutes
super easy
4-5 servings
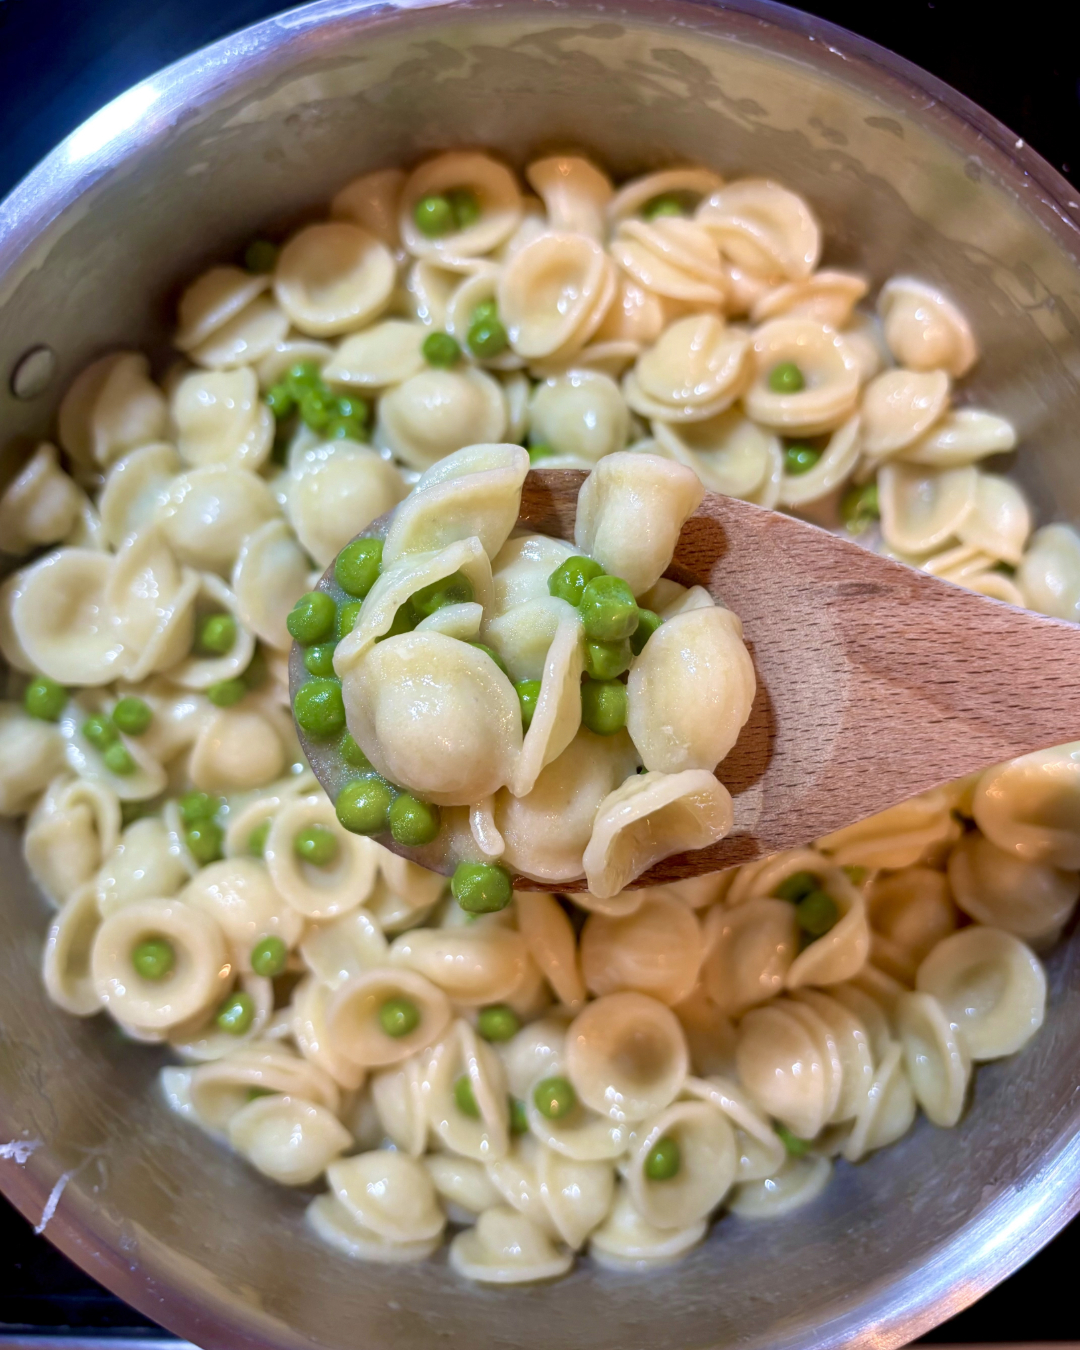
Simple Buttered Pasta with Peas: A Classic Kid-Friendly Favorite
When it comes to mealtime for kids, simple, delicious, and nutritious dishes are key. If you are looking for easy 12 month old dinner recipes, buttered pasta with peas is a classic recipe that checks all the boxes,. This easy dish combines tender pasta with a creamy, buttery coating and sweet, bright green peas, making it a favorite for children of all ages. It’s quick to prepare, gentle on young palates, and packed with kid-approved flavors, making it an excellent choice for lunch or quick dinner. You can pair it with your favorite protein, like chicken, shrimp, fish or beef. It really pairs well with almost everything. Both my kids love this dish, it’s an excellent option for easy weeknight dinners, picky eaters, or when you’re craving something cozy and simple.
Why Buttered Pasta with Peas is a Go-To Dish:
- Quick and Easy:
This recipe requires just a handful of ingredients and comes together in less than 20 minutes. It’s a lifesaver for parents, easy weeknight dinners, students, or anyone short on time. - Kid-Friendly:
Buttered pasta is a universally loved comfort food for children. Adding peas introduces a subtle sweetness and a dose of vegetables in a way that’s approachable for even the pickiest eaters. - Balanced Nutrition:
While pasta provides energy-packed carbohydrates, peas bring a boost of protein, fiber, iron and vitamins like C, K, and B1. The butter and olive oil add a touch of healthy fat, making the dish satisfying and nourishing. - Customizable:
This simple base can be easily adapted with additional ingredients like extra Parmesan, fresh herbs, garlic or a squeeze of lemon for extra flavor. You can add shrimp, fish or grilled chicken within the pasta as well. - Budget-Friendly:
With simple pantry staples, this dish is cost-effective and minimizes food waste. All you need is a box of pasta and a small bag of frozen green peas.
Tips for Success
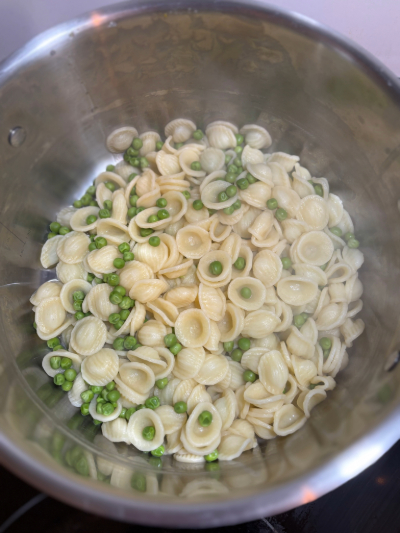
- Choose the Right Pasta: Short shapes like bowties or shells hold the butter and peas well, but any type will work.
- Don’t Overcook the Peas: I used organic pasta, which takes a little more time to cook, so I threw the peas in at the very beginning and noticed 15 minutes was the perfect time.
- Adding the Parmesan: You can add however much parmesan you like. The more you add the thicker the sauce will be.
Ingredients & Substitutions:
Pasta- I recommend using a kid-friendly pasta shape. I used orecchiette, but you can use elbows, bowties or small shells. For gluten-free option you can swap substitute with red lentil pasta, chickpea pasta or brown rice pasta.
Green Peas- The green peas pairs really well in this dish, if you don’t like peas you can swap with another veggie of choice, like broccoli.
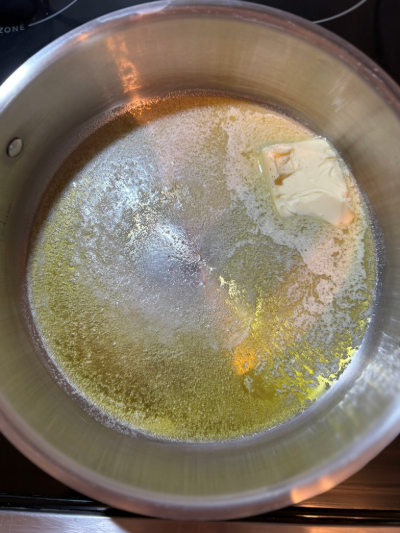
Butter & Olive oil- I don’t recommend replacing these.
Parmesan- I don’t recommend replacing the parmesan, it adds flavor and thickens the sauce.
What you need:
If you enjoyed this recipe, here are a few more you should check out:
Ingredients
Adjust Servings
| 1/2 a pack (.5 lbs) pasta I used orecchiette | |
| 2/3 cup frozen green peas | |
| 2 tbsp olive oil | |
| 2.5 tbsp butter | |
| 1/3 cup pasta water | |
| Salt to your liking | |
| Generous amount Parmesan Cheese Adjust to your liking |
Directions
1.
2.
3.
4.
5.

6.
Notes
2 Comments
-
-
Eating With Zion
Sounds so good! Happy you guys enjoyed it!
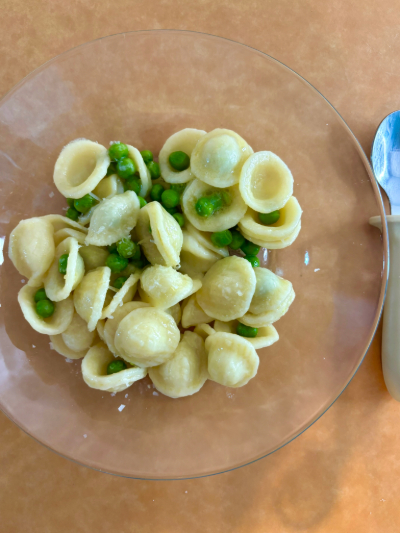
-
We ate this for lunch with a side of shredded chicken; very good and easy to make