


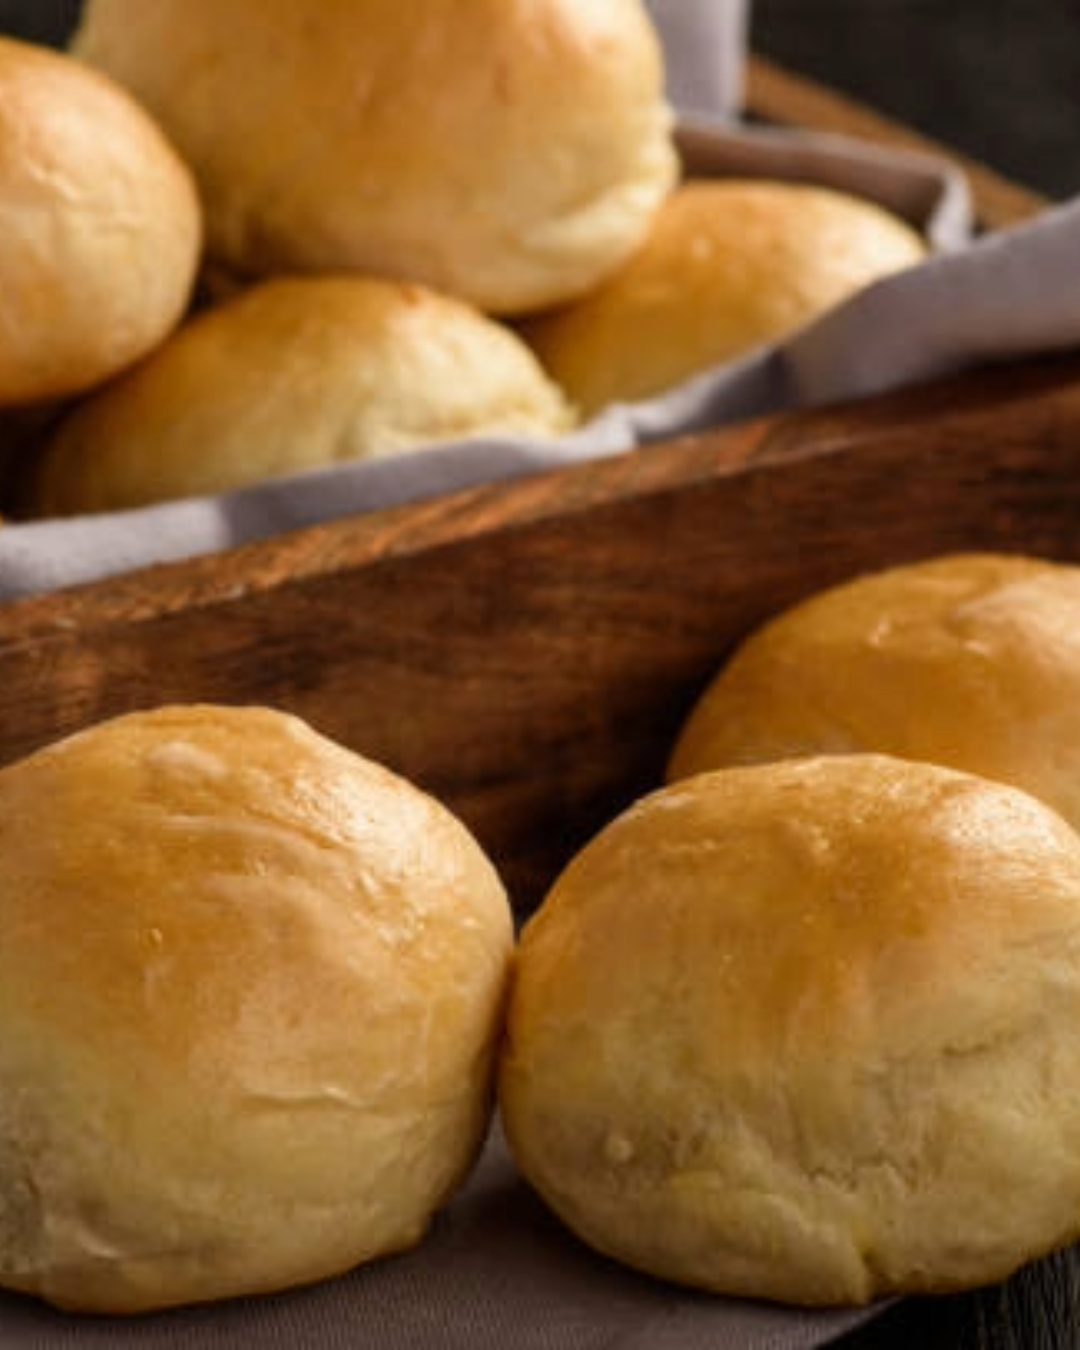
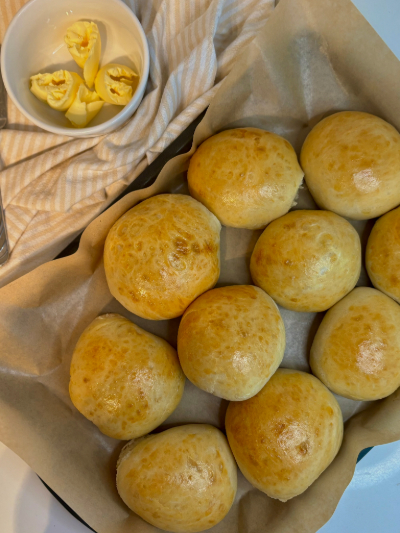
Soft Bread Rolls
May 13, 2025
up to 3 hours
super easy
10-11 rolls
Soft Bread Rolls – Wholesome, Simple, and Perfectly Fluffy for 12 months of age & Up
This is the very same bread roll recipe my mother used to make for us growing up. I can still remember the aroma filling our home on cold mornings or quiet Sundays — soft, golden rolls straight from the oven, served with a pat of butter and a mug of something warm. Now, I make them for my own family, and every batch brings back a sense of comfort and connection. They’re simple, nourishing and my kids love them, just as I did!
There’s nothing quite like the smell of freshly baked bread wafting through the kitchen, especially when it’s made with love and real, simple ingredients. These soft bread rolls, gently sweetened with honey and made without refined sugar, are a beautiful addition to any meal. Whether you’re serving them at dinner, offering one to a toddler learning to self-feed, or enjoying one warm with butter for breakfast, they’re sure to become a go-to family favorite.
Made with just flour, active dry yeast, olive oil, salt, honey, and water, the result is a tray of soft, fluffy rolls that taste both wholesome and delicious.
Why Make Your Own Soft Bread Rolls?
When you bake your own rolls, you control what goes into them , no preservatives, no artificial additives, and no refined sugar. These honey-sweetened rolls are subtly flavorful and light, perfect for little tummies and anyone looking to eat more mindfully. They’re also a great way to introduce homemade bread to 12 month old babies and toddlers in a soft, manageable texture.
Tips for Success:
-
Start in the morning: These rolls take time due to two rises, so I recommend starting the dough in the morning and finishing them during your baby’s nap or quiet time.
-
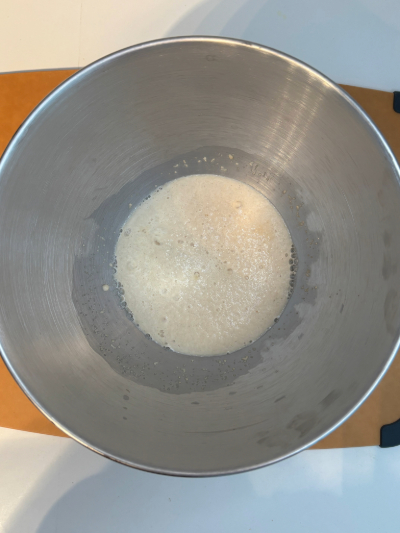
Don’t stress the timing: Yeast is forgiving — if your dough rests longer or shorter than planned, it’s okay. Go with the flow, stay relaxed, and enjoy the process. If you have an electric mixer, it helps a lot!
-
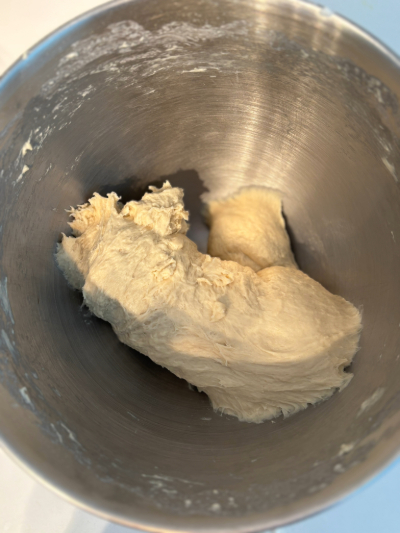
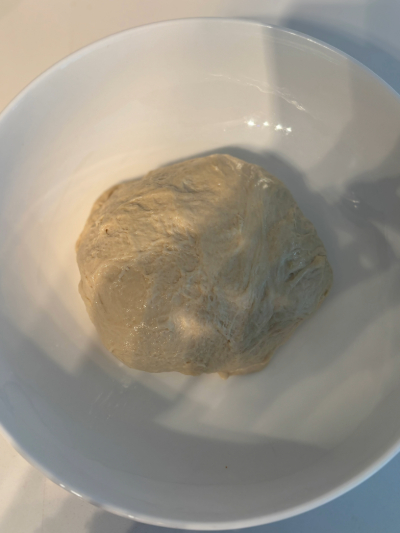
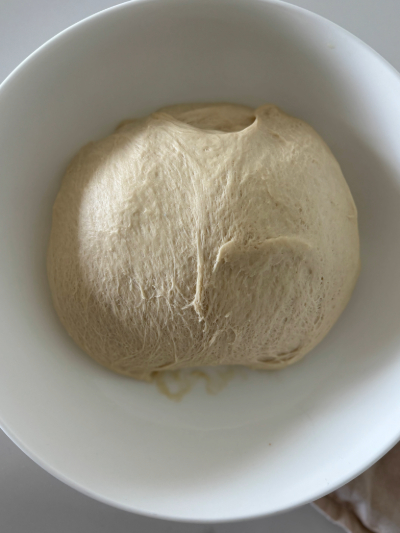
Stretch and fold method: After you knead your dough and let it rest you will need to do one stretch and fold. To do this, grab one side of the dough, stretch it up, and fold it over. Rotate the bowl and repeat on all four sides. Let the dough rest for 15 minutes and then it’s time to preheat oven to 375F and shape your buns.
-
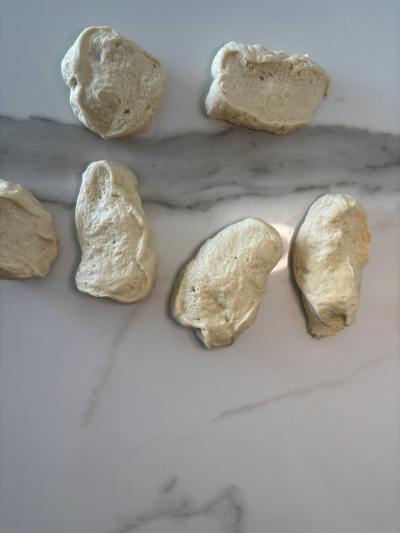
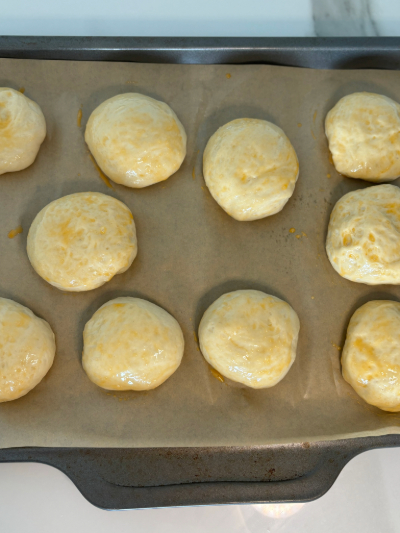
How to shape the buns: To shape, gently flatten each piece into a round, then pull the edges underneath to form a tight, smooth ball. Pinch the bottom to seal and place seam-side down on the tray.
- Freeze Leftovers: When I make these I always store all leftovers in a big ziplock in the freezer to have on hand. It is so convenient, you just take one out heat up in microwave and toaster and serve however you like. They freeze well for up to 2 months.
Serving Ideas:
-
Serve warm with butter and a drizzle of honey. A little avocado on top with tomato.
- Use as a hamburger bun.
-
Pair with soups, stews, or curries.
-
Use for mini sandwiches or sliders.
-
Cut in half and toast for a breakfast option with fruit on the side.
Storage Tips:
-
Store in a ziplock at room temperature for up to 3 days.
-
Freeze cooled rolls in a freezer-safe bag for up to 2 months.
-
Reheat gently in the oven, microwave or toaster until warm and soft. Best is if you slice in half and heat in toaster.
What You Need:
I highly recommend using an electric mixer, but if you don’t have one you can still knead the dough by hand.
If you enjoyed this recipe, here are a few more recipes you should check out:
Ingredients
Adjust Servings
| 3 1/2 cups sifted all-purpose flour | |
| 1 tbsp active dry yeast | |
| 2 tbsp honey | |
| 2 tbsp olive oil | |
| 1 tsp salt | |
| 1 1/2 cup warm water | |
| 1 egg to brush on top of rolls |
Directions
1.
2.
3.
4.
5.
6.
7.
8.
9.
10.
11.
Leave a Reply