


Homemade Goldfish Crackers (4 ingredients)
May 21, 2026
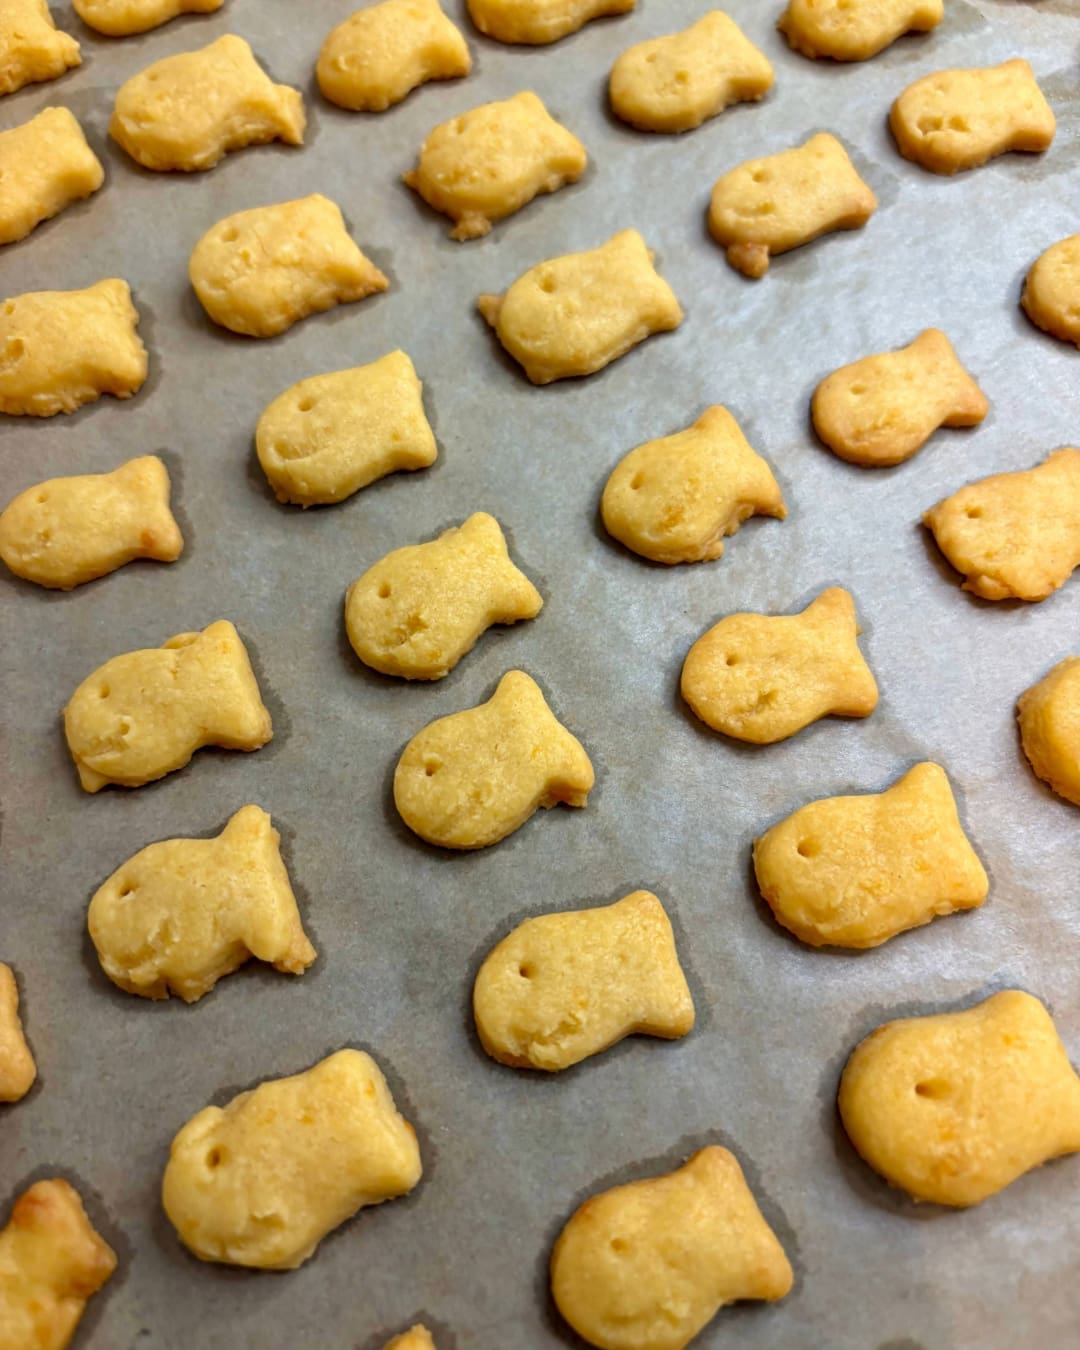
🐟🧀 Homemade Goldfish Crackers (Only 4 Ingredients!)
Once you make these homemade goldfish crackers (4 ingredients), it’s honestly hard to go back to the store-bought version. They’re buttery, cheesy, crispy, and so incredibly delicious straight out of the oven. And unlike many packaged crackers that are filled with preservatives, unnecessary additives, and ingredients you can barely pronounce, these are made with just 4 simple ingredients you probably already have at home.
Growing up, goldfish crackers were such a classic snack, but after making them homemade, I realized just how much better they taste fresh. They’re rich, cheesy, perfectly crisp, and don’t leave that weird coating stuck to your teeth like the boxed ones sometimes do. I genuinely could not stop eating them myself and the kids were obsessed too.
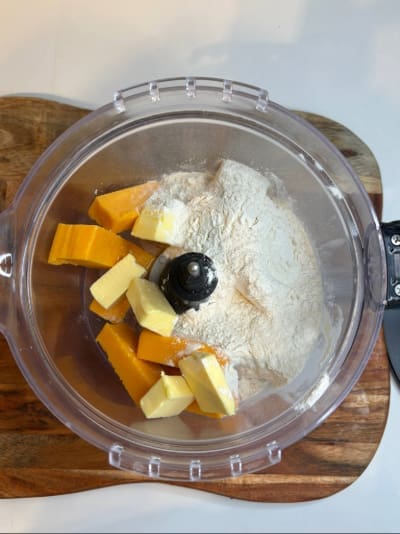
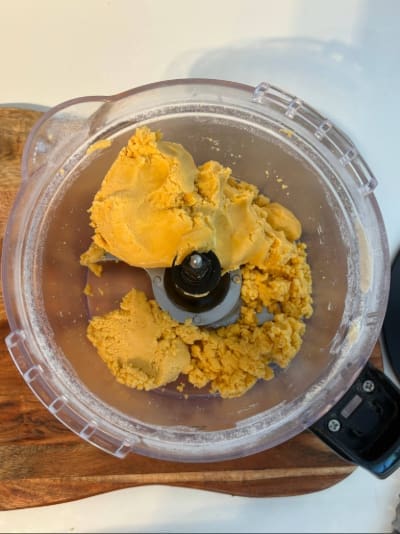
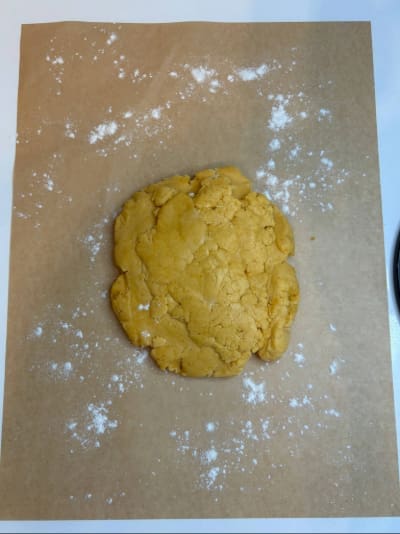
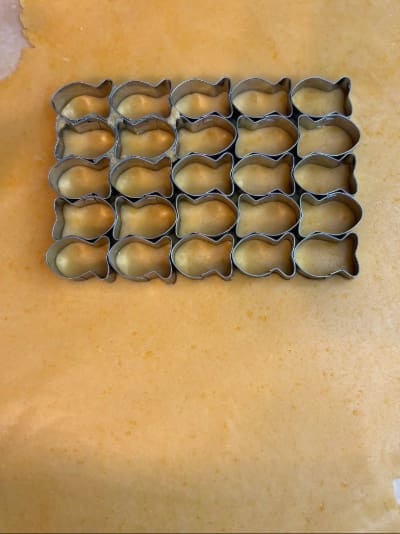
The best part is how easy they are to make. Everything gets tossed into a food processor, blended into a dough, chilled, rolled out, and cut into adorable little fish shapes. If you have a goldfish cutter, definitely use it because kids absolutely love the fun fish shape, it makes snack time extra exciting. But even if you don’t have one, simple square cheese crackers taste just as amazing.
💛 Why Parents & Kids Love These Homemade Goldfish Crackers (4 ingredients)
These homemade crackers are such a fun snack because they’re:
- Made with only 4 ingredients 🙌
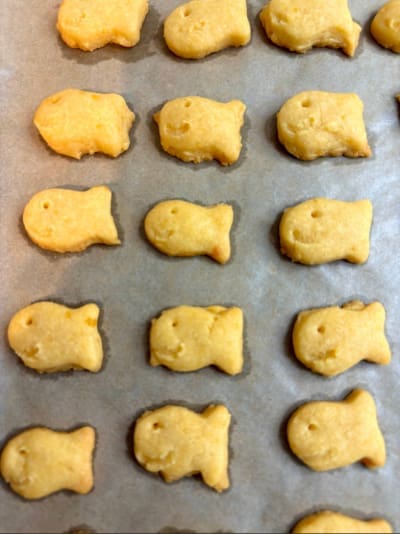
- Crispy, buttery, and cheesy
- Free from preservatives and unnecessary additives
- Fun for kids to help make 🐟
- Perfect for lunchboxes and snack plates
- Honestly even better than store-bought
They taste fresh, homemade, and so much more flavorful.
🧠 Why Homemade Is Better
Making crackers at home means:
- You control the ingredients
- No preservatives or unnecessary fillers
- Fresh, real cheese flavor 🧀
- Packaged snacks are processed and made with 399375389 ingredients, unlike homemade snacks
And honestly? They taste SO much better fresh.
🐟 No Goldfish Cutter? No Problem!
If you don’t have fish-shaped cutters, you can easily make:
- Square cheese crackers
- Circle crackers
- Mini bite-sized crackers
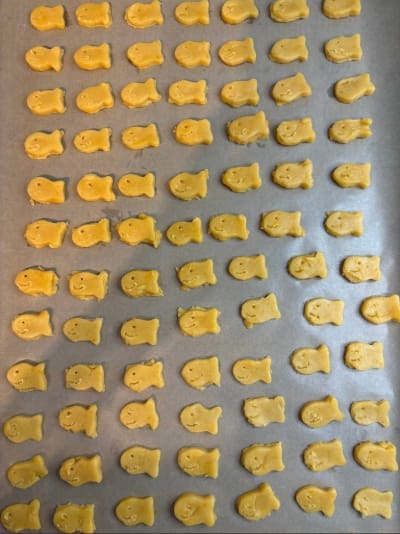
Just poke a little hole in the middle for that classic cheese cracker look and to let the steam out.
💡 Tips for Success
- Chill the dough so it’s easier to roll and cut
- Roll evenly for consistent baking
- Roll the dough thinner for crispier crackers or slightly thicker for a softer crunch ✨
- Don’t overbake, they crisp more as they cool
- Use sharp cheddar for the best flavor
👶 Serving Suggestions
These crackers are great for:
- Toddler snack plates
- Lunchboxes 🍱
- After-school snacks
- Travel snacks
- Picnics ☀️
Pair them with:
- Fruit
- Yogurt
- Veggies
- Hummus
What You Need:
If you enjoyed this recipe, here are some more homemade snacks for kids:
Ingredients
Adjust Servings
| 6.5 oz. (184 g) sharp yellow cheddar cheese | |
| 7 tbsp cold butter | |
| 1 1/3 cups all-purpose flour | |
| 1 tbsp water |
Directions
1.
2.
3.
4.
5.
6.
7.
Notes
2 Comments
-
-
Eating With Zion
Hi Jack, yes you can freeze. Reheat a little in oven or toaster oven for about 3 minutes on 350F
-
Can you freeze these?